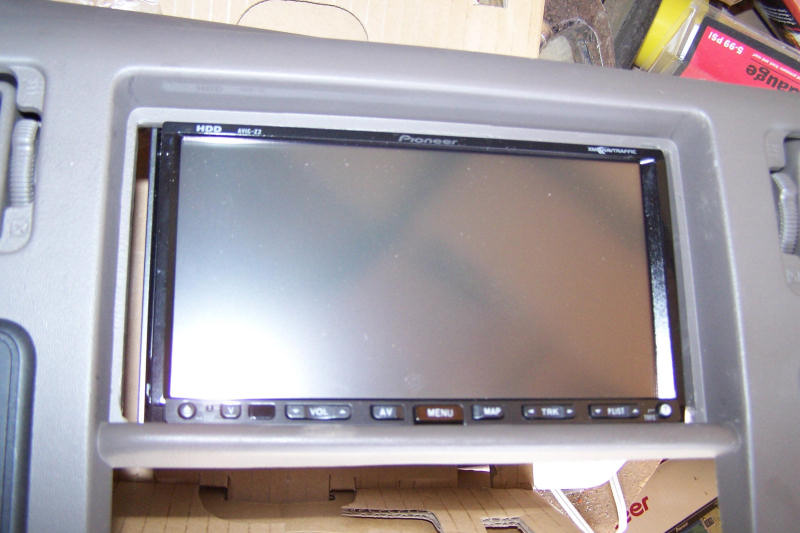
I recently purchased an Pioneer AVIC Z2 to install in my 2003 F-250 pickup. I currently had a Pioneer DEH-P770MP with kit that had a storage area above it. I had an XM unit (GEX-P920XM) attached. This new unit is a double-DIN so it posed a challenge. I read many forums trying to glean information on the install and found some. I took some pictures during my install so I thought I would post them to help out anyone in the future. Some shots would be duplicates so I will simply refer to those.
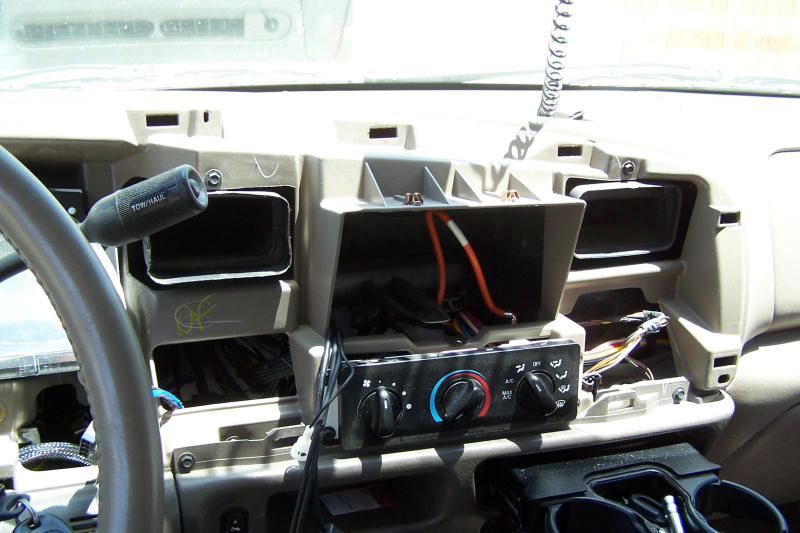
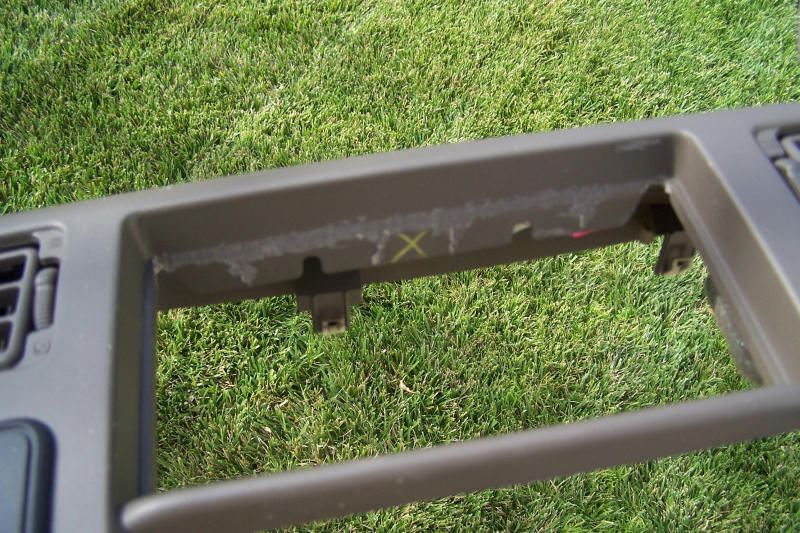
I read many threads and the easiest method seemed to be to take off the dash. Not the whole dash but the front bezel. Take out your old radio and up above where it was are two screws. These are the only screws that hold the entire bezel on. The rest of the bezel just snaps off. Here is a link that describes it. Here is what mine looks like when it is off:
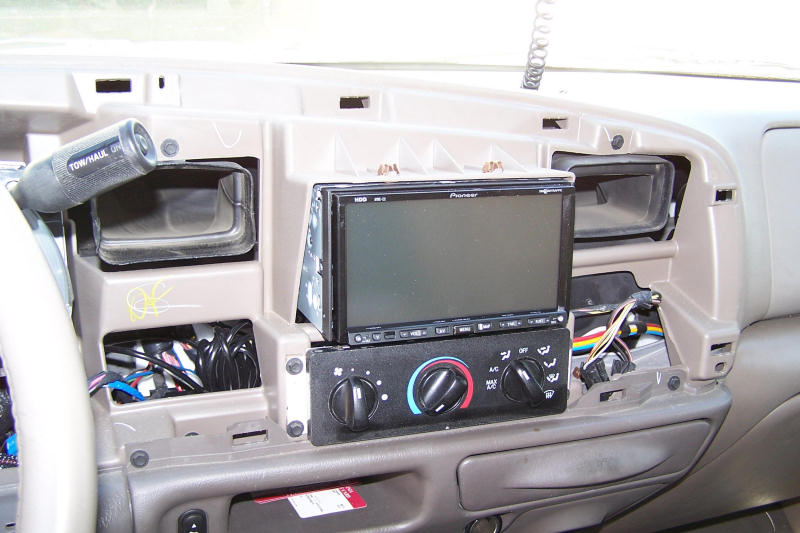
Time for a dry fit to see if it will really fit:
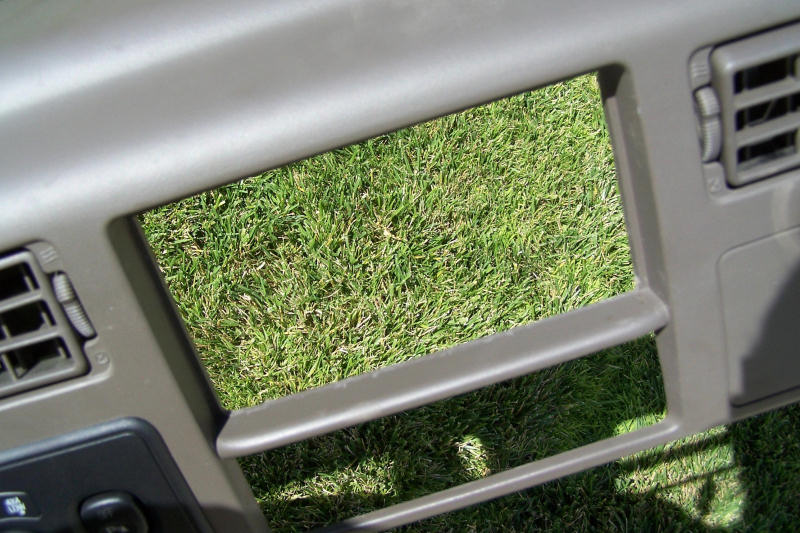
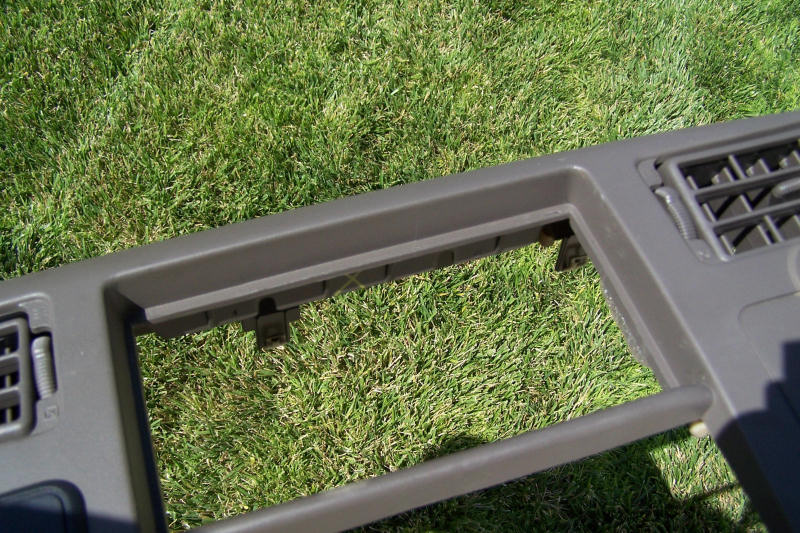
I had heard from the threads that there needs to be some trimming. So I took my portable Dremel, sat down in the shade and started trimming the bottom. Ended up with a very hot Dremel in my hands and plastic shavings ALL OVER! Time for the air compressor. Here is what it looked like when done and another picture with no shaving on the top:
Time for a bench fit to see how it was going:
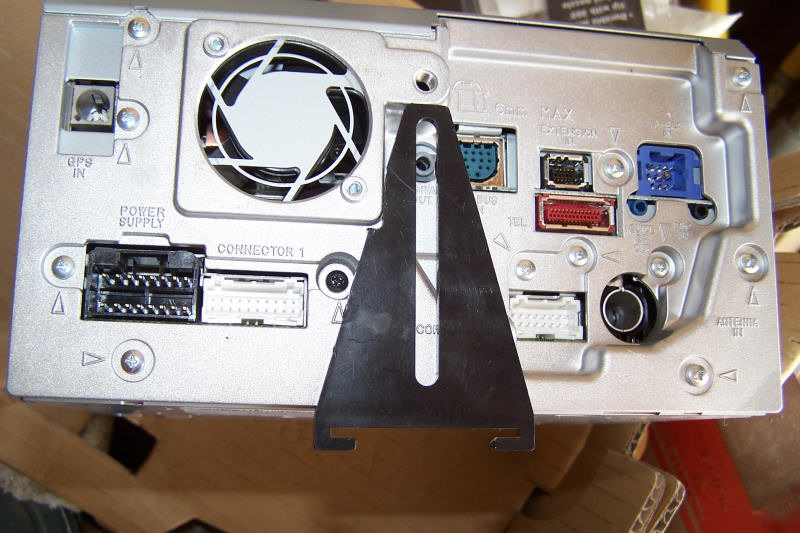
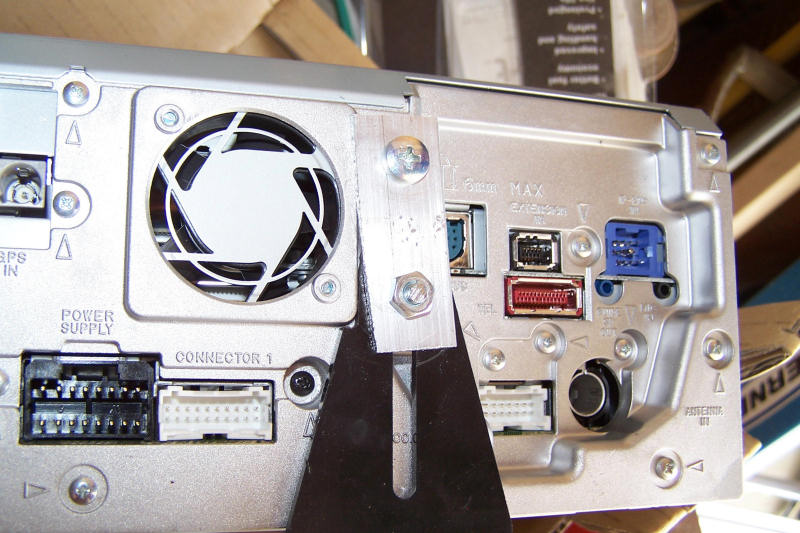
On any Ford that I have had, they have that little bar on the bottom that is used as a support. The Metra kit did have that little bracket with it but it was too short to get to the mounting screen on the AVIC. I had to cut a bit to get it to mount flush, I then made a little 'extension' to mount it. It does block the digital out but if I need that I will address it later.
Well, to make it fit better, I had to shave off the top also. I also had to recharge my Dremel in the middle of all this:
Yes, I did nick it a bit but you'll never see that <g>
Another test fit before attacking the wiring:
Time for the VSS wire. This thread shows many locations of wires and was instrumental in the help. I looked for one of those vampire type wire clips, but couldn't find it. I did after I was done, so I just used a different way to connect:
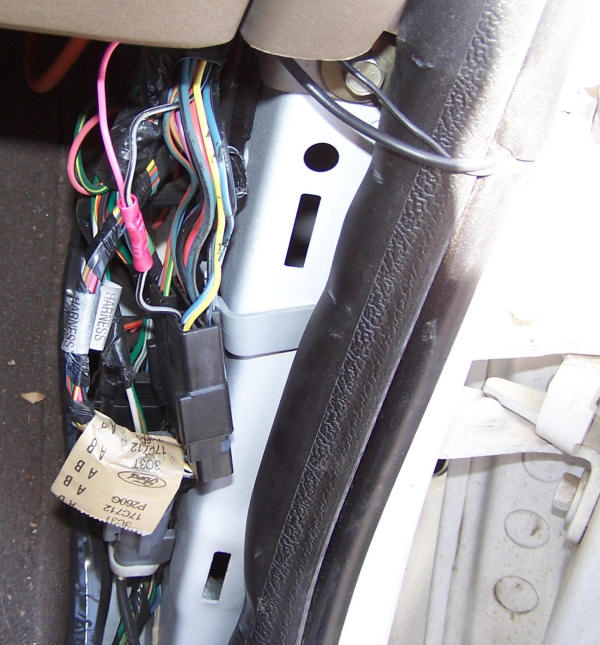
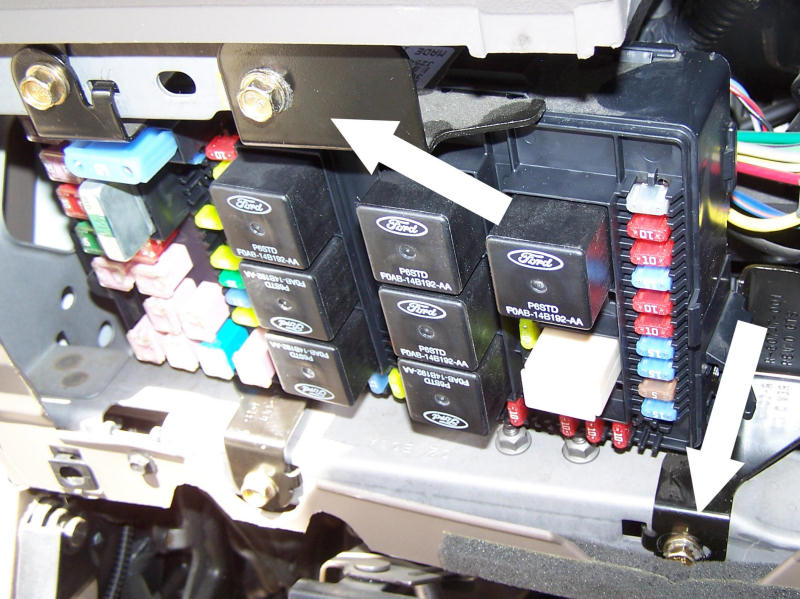
The same thread talks about the reverse sensor. The picture is a little hard to figure out where to find it. They key is to release the fuse block and swing it down. You will then see it. There are some quick disconnects but it is easier to simply remove the bolts where I have the arrows pointing:
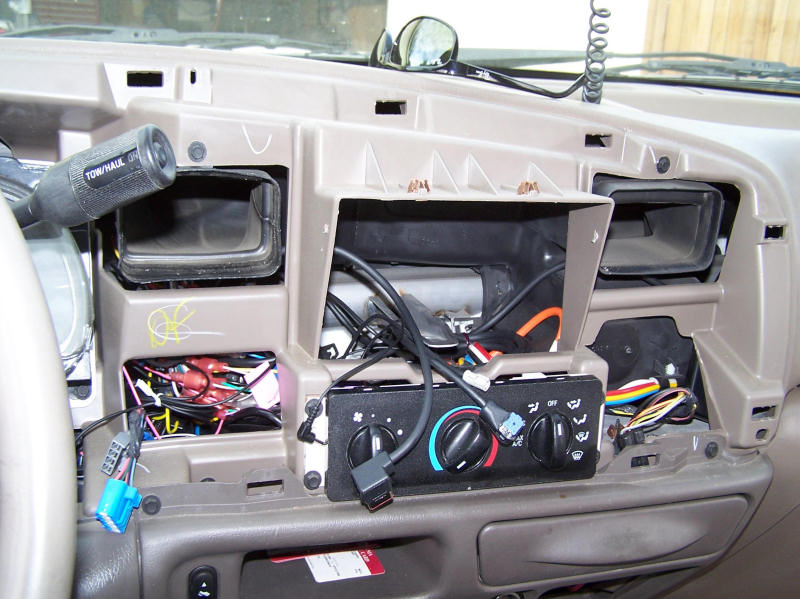
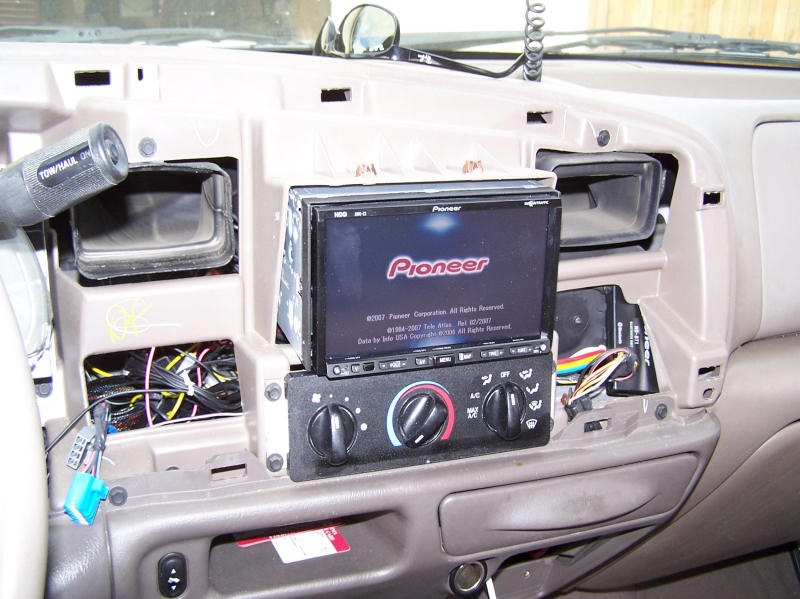
So I got all my wiring done and have pushed the mess inside. I have the mic, P-bus, Bluetooth and satellite wires all ready to connect. The main wiring connector is hiding behind the dash. You can see some of the holes that I drilled in the top sides of the openings. These are for mounting the unit. I had a time thinking what I was going to do to hold them in. I decided to simply use some screws from both sides:
All connected, the moment of truth. Turn it on. It works! I have the XM, iPod module and an Aux connector all P-bussed together. So I thought. No XM. I forgot a link. I rewired it to go to the XM and then the iPod (I left out the Aux) and the XM started working.
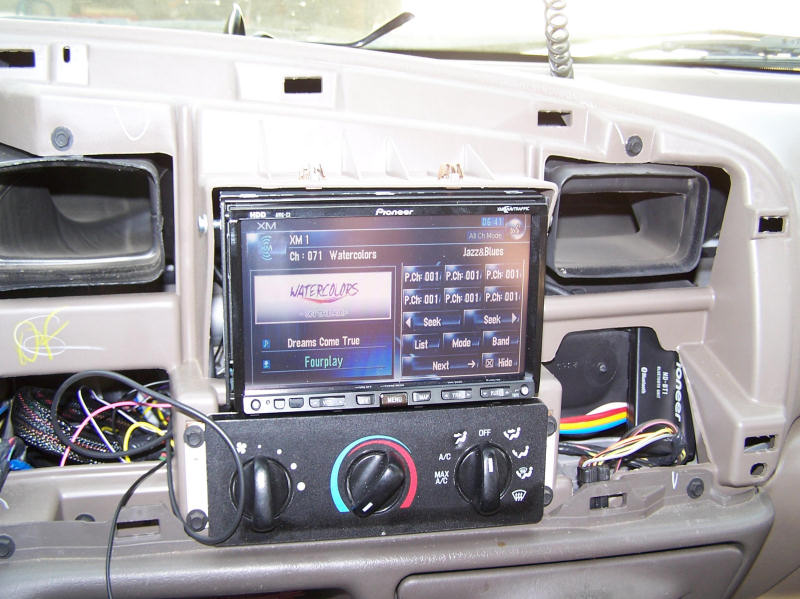
There is the XM! You can also see the Bluetooth hiding out to the right. This is the unit mounted with the screws holding it from either side. They stop the unit from sliding around any direction. They probably would not hold in a rollover but at that point, WHO CARES!
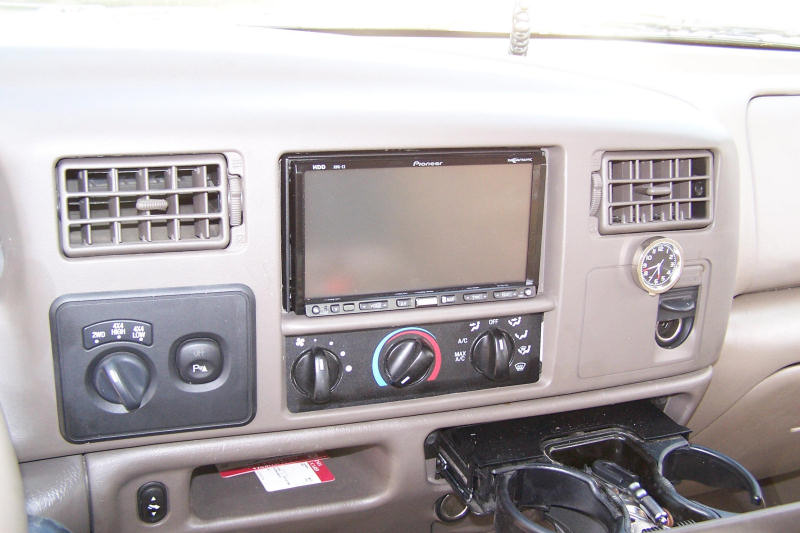
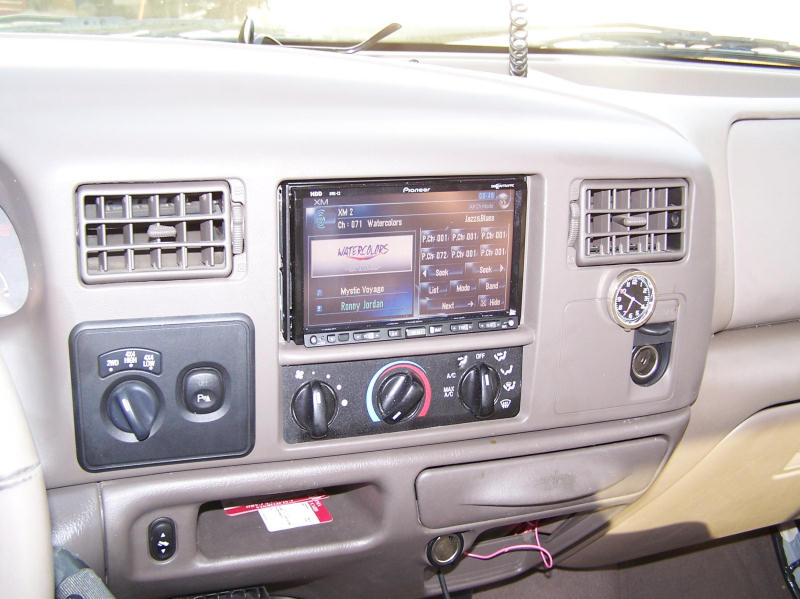
One problem that I noticed is the ding that I put in on the A/C controls. Look to the left of the OFF setting. OUCH! Oh well, can't do much about it now.
Here it is all done. I may put some trim around it for appearance sake but I am glad it is over. Took the better part of a weekend in 90+ degree weather.
Feel free to contact me for questions.
Check out my blog!